服务器 Codex 反向代理使用说明
1. 使用场景
服务器无法直接访问外网,但本地 Windows 电脑可以通过 v2rayN、Clash 等代理访问外网。
目标链路如下:
1 2 3 4 5 6 7 服务器上的 Codex ↓ 服务器 127.0.0.1:代理端口 ↓ SSH 反向隧道 本地电脑 127.0.0.1:7897 ↓ 外网
该配置只在当前用户账户下生效,不修改服务器全局代理,不影响其他 Linux 用户。
2. 前提条件
2.1 本地电脑
本地电脑需要已经有可用代理,例如:
可在 Windows PowerShell 中测试:
1 curl.exe -I -x http://127.0 .0.1 :7897 https://www.google.com
如果返回 HTTP/2 200 或类似结果,说明本地代理可用。
2.2 服务器
服务器需要能够通过 SSH 登录:
1 ssh your_user@your_server_ip
3. 在本地电脑建立 SSH 反向代理
在 Windows PowerShell 中执行:
1 ssh -N -T -o ExitOnForwardFailure=yes -R 43897 :127.0 .0.1 :7897 your_user@your_server_ip
参数说明:
1 2 3 4 5 6 -N:只建立隧道,不进入远程 shell -T:不分配伪终端 -o ExitOnForwardFailure=yes:如果端口转发失败则直接退出 -R 43897:127.0.0.1:7897: 在服务器上监听 127.0.0.1:43897 并转发到本地电脑的 127.0.0.1:7897
执行后窗口看起来会停住,这是正常现象。该窗口用于保持 SSH 隧道连接,不要关闭。
如需中断隧道,在该 PowerShell 窗口按:
4. 在服务器上测试代理是否可用
另开一个 PowerShell 窗口,登录服务器:
1 ssh your_user@your_server_ip
在服务器中执行:
1 curl -I -x http://127.0.0.1:43897 https://www.google.com
如果出现类似结果:
1 2 3 HTTP/1.1 200 Connection established HTTP/2 200
说明反向代理已经成功。
也可以测试 OpenAI:
1 curl -I -x http://127.0.0.1:43897 https://api.openai.com
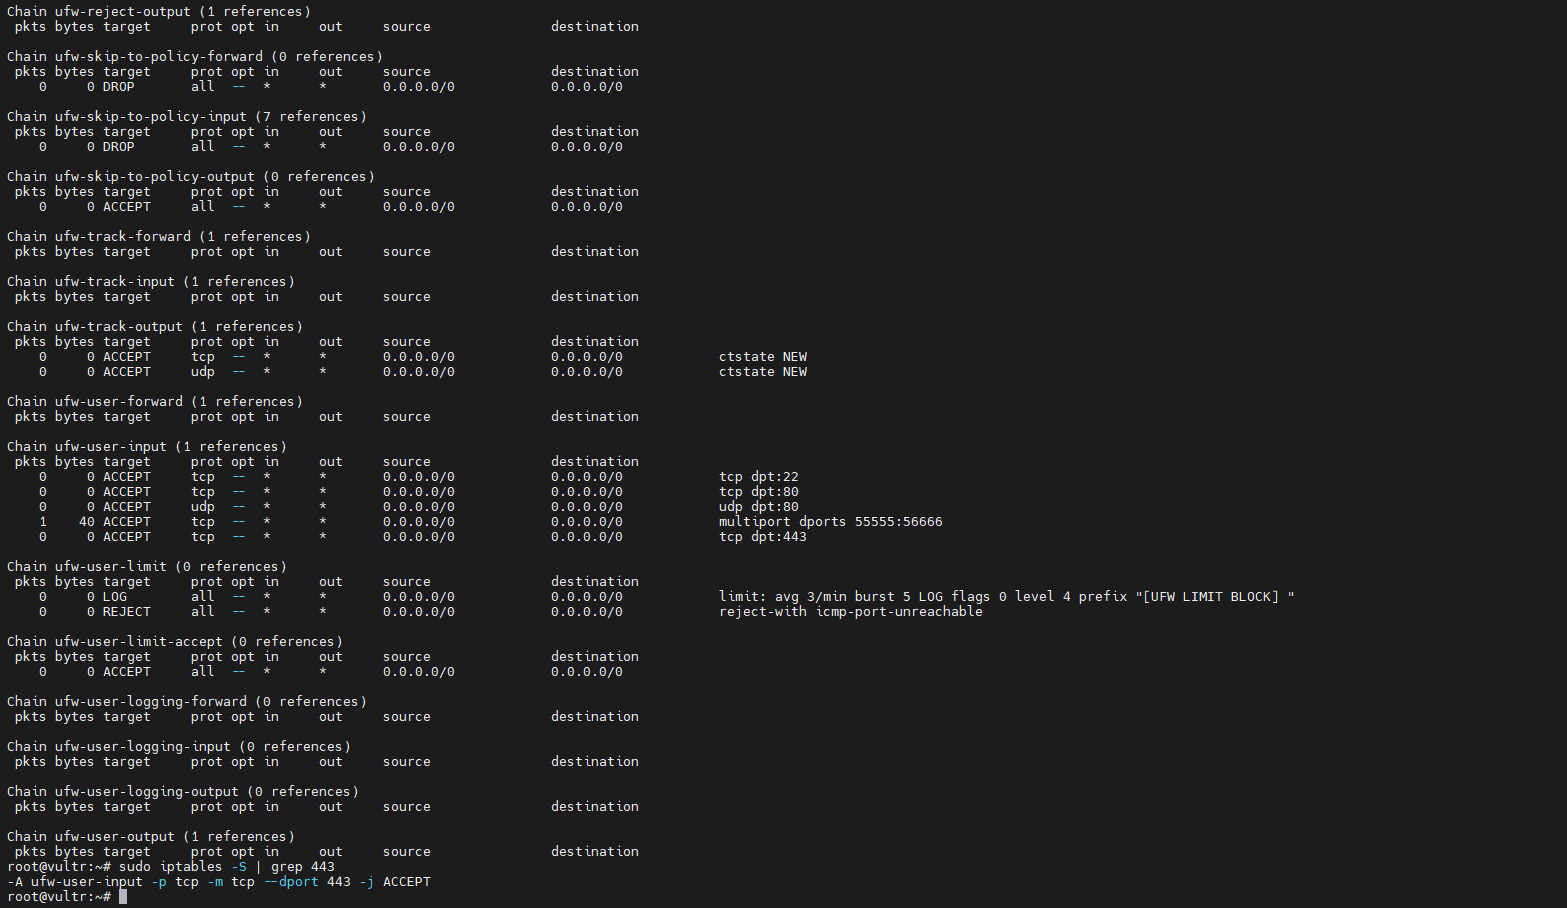
5. 检查服务器端监听端口
在服务器上执行:
正常情况下应看到类似:
1 LISTEN 0 128 127.0.0.1:43897 0.0.0.0:*
重点是监听地址应为:
不要是:
127.0.0.1 表示该端口只在服务器本机可访问,不暴露给外部网络。
注意:同一台服务器上的其他 Linux 用户理论上也可能访问 127.0.0.1:43897。因此建议使用随机高位端口,并且不要公开端口号。
6. 安装 Node.js 和 npm
先检查服务器是否已有 Node.js 和 npm:
如果能正常显示版本号,可以跳过本节。
如果没有 Node.js,且没有 sudo 权限,建议使用 nvm 安装到当前用户目录。
通过代理安装 nvm:
1 2 3 HTTPS_PROXY=http://127.0.0.1:43897 \ HTTP_PROXY=http://127.0.0.1:43897 \ curl -o- https://raw.githubusercontent.com/nvm-sh/nvm/master/install.sh | bash
加载 nvm:
安装 Node.js LTS:
1 2 nvm install --lts nvm use --lts
再次检查:
7. 配置 npm 只安装到当前用户目录
不要使用系统级全局安装路径,避免影响服务器其他用户。
在服务器中执行:
1 2 mkdir -p ~/.npm-globalnpm config set prefix "$HOME /.npm-global"
将当前用户的 npm bin 目录加入 PATH:
1 2 echo 'export PATH="$HOME/.npm-global/bin:$PATH"' >> ~/.bashrcsource ~/.bashrc
检查 npm 全局安装目录:
期望输出类似:
1 /home/your_user/.npm-global
8. 通过代理安装 Codex CLI
在服务器中执行:
1 2 3 4 HTTPS_PROXY=http://127.0.0.1:43897 \ HTTP_PROXY=http://127.0.0.1:43897 \ ALL_PROXY=http://127.0.0.1:43897 \ npm install -g @openai/codex
安装完成后检查:
1 2 which codexcodex --version
期望结果类似:
1 /home/your_user/.npm-global/bin/codex
如果 which codex 指向 /home/your_user/.npm-global/bin/codex,说明 Codex 安装在当前用户目录下,不影响其他用户。
9. 创建只对 Codex 生效的代理启动脚本
不要把代理变量直接写入 ~/.bashrc,否则当前账户下的其他程序也会默认走代理。
推荐创建单独脚本。注意同时设置大写和小写代理变量,因为 Codex 及其子进程可能读取不同大小写的环境变量。
1 2 3 4 5 6 7 8 9 10 11 12 13 14 15 16 17 mkdir -p ~/bincat > ~/bin/codex-proxy <<'EOF' set -eexport HTTP_PROXY=http://127.0.0.1:43897export HTTPS_PROXY=http://127.0.0.1:43897export ALL_PROXY=http://127.0.0.1:43897export NO_PROXY=localhost,127.0.0.1,::1export http_proxy="$HTTP_PROXY " export https_proxy="$HTTPS_PROXY " export all_proxy="$ALL_PROXY " export no_proxy="$NO_PROXY " exec "$HOME /.npm-global/bin/codex" "$@ " EOF
赋予执行权限:
1 chmod +x ~/bin/codex-proxy
将 ~/bin 加入当前用户 PATH:
1 2 echo 'export PATH="$HOME/bin:$PATH"' >> ~/.bashrcsource ~/.bashrc
检查:
期望结果:
1 /home/your_user/bin/codex-proxy
9.1 给 Codex app-server 添加代理包装
Codex 可能会自动拉起 codex app-server 或 codex app-server proxy 子进程。实际使用中,这些子进程不一定继承当前终端手动 export 的代理变量,并且自动启动命令会优先从:
查找 codex。因此建议额外放一个同样的包装脚本到 ~/.local/bin/codex,让自动拉起的 app-server 也走代理。
1 2 3 4 5 6 7 8 9 10 11 12 13 14 15 16 17 18 19 mkdir -p ~/.local/bincat > ~/.local/bin/codex <<'EOF' set -eexport HTTP_PROXY=http://127.0.0.1:43897export HTTPS_PROXY=http://127.0.0.1:43897export ALL_PROXY=http://127.0.0.1:43897export NO_PROXY=localhost,127.0.0.1,::1export http_proxy="$HTTP_PROXY " export https_proxy="$HTTPS_PROXY " export all_proxy="$ALL_PROXY " export no_proxy="$NO_PROXY " exec "$HOME /.npm-global/bin/codex" "$@ " EOF chmod +x ~/.local/bin/codex
创建后检查:
1 2 ~/.local/bin/codex --version codex-proxy --version
10. 登录 Codex
使用代理脚本启动登录:
如果支持设备码登录,也可以使用:
1 codex-proxy login --device-auth
服务器无浏览器时,终端一般会显示登录链接或设备码。将链接复制到本地浏览器完成登录即可。
11. 启动 Codex
进入项目目录:
启动 Codex:
不要直接运行:
因为直接运行 codex 不会自动带上代理环境变量。
12. Docker 容器内使用 Codex
如果 Codex 或开发环境在 Docker 容器内,不要修改 Docker daemon 全局代理。
建议只给自己的容器传入代理变量。
启动容器时:
1 2 3 4 5 6 docker run -it \ --add-host=host.docker.internal:host-gateway \ -e HTTP_PROXY=http://host.docker.internal:43897 \ -e HTTPS_PROXY=http://host.docker.internal:43897 \ -e ALL_PROXY=http://host.docker.internal:43897 \ your_image bash
如果使用 docker compose,只在自己的服务中添加:
1 2 3 4 5 6 7 8 9 services: dev: image: your_image extra_hosts: - "host.docker.internal:host-gateway" environment: HTTP_PROXY: http://host.docker.internal:43897 HTTPS_PROXY: http://host.docker.internal:43897 ALL_PROXY: http://host.docker.internal:43897
不要修改:
否则可能影响服务器其他用户的 Docker 网络行为。
13. 多用户服务器注意事项
13.1 Codex 程序隔离
如果 Codex 安装在:
1 /home/your_user/.npm-global/bin/codex
并且只将路径写入:
则其他用户默认无法直接通过 codex 命令访问你的 Codex。
检查方式:
1 2 which codexls -l $(which codex)
期望结果:
1 /home/your_user/.npm-global/bin/codex
13.2 代理端口风险
SSH 反向代理监听在服务器本机:
外部机器不能直接访问,但同一台服务器上的其他用户理论上可能访问该本机端口。
降低风险的方法:
使用随机高位端口,例如 59173、47281 等。
不要将代理端口写入公共文档或共享脚本。
不要将代理环境变量写入全局配置。
只在 ~/bin/codex-proxy 中使用代理。
使用完后关闭 SSH 隧道。
例如将端口换为 59173。
本地电脑执行:
1 ssh -N -T -o ExitOnForwardFailure=yes -R 59173 :127.0 .0.1 :7897 your_user@your_server_ip
服务器脚本中对应修改为:
1 2 3 export HTTP_PROXY=http://127.0.0.1:59173export HTTPS_PROXY=http://127.0.0.1:59173export ALL_PROXY=http://127.0.0.1:59173
14. 权限加固
如果不希望其他用户浏览你的用户目录,可执行:
1 2 chmod 700 ~chmod 700 ~/.npm-global ~/bin
检查权限:
1 2 ls -ld ~ls -ld ~/.npm-global ~/bin
15. 常见问题
15.1 PowerShell 执行 SSH 后卡住
正常。
如果使用了:
1 ssh -N -R 43897 :127.0 .0.1 :7897 your_user@your_server_ip
-N 表示只建立隧道,不打开远程 shell,因此不会出现服务器命令行提示符。
该窗口需要保持打开,关闭后隧道断开。
15.2 curl 测试返回 Connection refused
可能原因:
本地代理端口不是 7897。
本地 v2rayN 或 Clash 没有开启。
SSH 反向隧道没有成功。
服务器端口 43897 被占用。
本地代理只监听了其他地址或端口。
检查本地代理端口是否正确。
15.3 curl 测试返回 Could not resolve host
可能是代理没有生效,或者命令没有指定 -x。
应使用:
1 curl -I -x http://127.0.0.1:43897 https://www.google.com
15.4 npm install 仍然无法联网
使用显式代理变量安装:
1 2 3 4 HTTPS_PROXY=http://127.0.0.1:43897 \ HTTP_PROXY=http://127.0.0.1:43897 \ ALL_PROXY=http://127.0.0.1:43897 \ npm install -g @openai/codex
必要时也可以设置 npm 代理:
1 2 npm config set proxy http://127.0.0.1:43897 npm config set https-proxy http://127.0.0.1:43897
如果后续不想让 npm 默认走代理,可以删除:
1 2 npm config delete proxy npm config delete https-proxy
15.5 codex-proxy 提示 command not found
检查 ~/bin 是否加入 PATH:
重新执行:
1 2 echo 'export PATH="$HOME/bin:$PATH"' >> ~/.bashrcsource ~/.bashrc
检查脚本是否存在:
15.6 codex 命令找不到
检查 Codex 是否安装成功:
检查 npm 全局 bin 目录:
检查 PATH:
确保包含:
1 /home/your_user/.npm-global/bin
15.7 Codex 主进程有代理,但 codex_apps 或 MCP 仍然失败
如果报错中出现类似:
1 2 3 4 MCP startup failed codex_apps https://chatgpt.com/backend-api/wham/apps tls handshake eof
先确认代理链路本身是否可用:
1 curl -v -x http://127.0.0.1:43897 https://chatgpt.com/backend-api/wham/apps
如果能看到 HTTP/1.1 200 Connection established,并且最终返回 HTTP/2 405 或其他 HTTP 响应,说明代理链路是通的。
此时重点检查是否有旧的无代理 codex app-server 进程残留:
1 ps -u "$(whoami) " -o pid=,cmd= | grep 'codex app-server' | grep -v grep
如果存在旧进程,可以只清理当前用户下的 app-server:
1 2 3 4 5 ps -u "$(whoami) " -o pid=,cmd= \ | grep 'codex app-server' \ | grep -v grep \ | awk '{print $1}' \ | xargs -r kill -9
不要直接使用不带用户限制的 pkill -f codex,多用户服务器上可能匹配到其他人的 Codex 进程并出现无权限错误。
清理后重新运行:
16. 日常使用流程
第一步:本地电脑打开 SSH 隧道
1 ssh -N -T -o ExitOnForwardFailure=yes -R 43897 :127.0 .0.1 :7897 your_user@your_server_ip
保持该窗口不关闭。
第二步:另开终端登录服务器
1 ssh your_user@your_server_ip
第三步:进入项目目录
第四步:启动 Codex
第五步:使用结束后关闭隧道
回到保持隧道的 PowerShell 窗口,按:
17. 最小命令汇总
本地电脑
1 ssh -N -T -o ExitOnForwardFailure=yes -R 43897 :127.0 .0.1 :7897 your_user@your_server_ip
服务器测试代理
1 curl -I -x http://127.0.0.1:43897 https://www.google.com
服务器安装 Codex
1 2 3 4 5 6 7 8 9 mkdir -p ~/.npm-globalnpm config set prefix "$HOME /.npm-global" echo 'export PATH="$HOME/.npm-global/bin:$PATH"' >> ~/.bashrcsource ~/.bashrcHTTPS_PROXY=http://127.0.0.1:43897 \ HTTP_PROXY=http://127.0.0.1:43897 \ ALL_PROXY=http://127.0.0.1:43897 \ npm install -g @openai/codex
创建 Codex 代理启动脚本
1 2 3 4 5 6 7 8 9 10 11 12 13 14 15 16 17 18 19 20 21 mkdir -p ~/bincat > ~/bin/codex-proxy <<'EOF' set -eexport HTTP_PROXY=http://127.0.0.1:43897export HTTPS_PROXY=http://127.0.0.1:43897export ALL_PROXY=http://127.0.0.1:43897export NO_PROXY=localhost,127.0.0.1,::1export http_proxy="$HTTP_PROXY " export https_proxy="$HTTPS_PROXY " export all_proxy="$ALL_PROXY " export no_proxy="$NO_PROXY " exec "$HOME /.npm-global/bin/codex" "$@ " EOF chmod +x ~/bin/codex-proxyecho 'export PATH="$HOME/bin:$PATH"' >> ~/.bashrcsource ~/.bashrc
创建 Codex app-server 包装脚本:
1 2 3 4 5 6 7 8 9 10 11 12 13 14 15 16 17 18 19 mkdir -p ~/.local/bincat > ~/.local/bin/codex <<'EOF' set -eexport HTTP_PROXY=http://127.0.0.1:43897export HTTPS_PROXY=http://127.0.0.1:43897export ALL_PROXY=http://127.0.0.1:43897export NO_PROXY=localhost,127.0.0.1,::1export http_proxy="$HTTP_PROXY " export https_proxy="$HTTPS_PROXY " export all_proxy="$ALL_PROXY " export no_proxy="$NO_PROXY " exec "$HOME /.npm-global/bin/codex" "$@ " EOF chmod +x ~/.local/bin/codex
启动 Codex